

1.Create an Agent Group
💡 Tip: This step is optional. If you only need to specify a single extension for outbound calls, you can skip this step. Creating an agent group is only necessary when you need to batch assign multiple agents for collaborative calling.
Accessing the Feature
1.Log in to the admin console. In the left-side navigation pane, select Voice, then click Customer Service Management from the expanded menu. On the subsequent page, choose Seat Group to access the management interface.
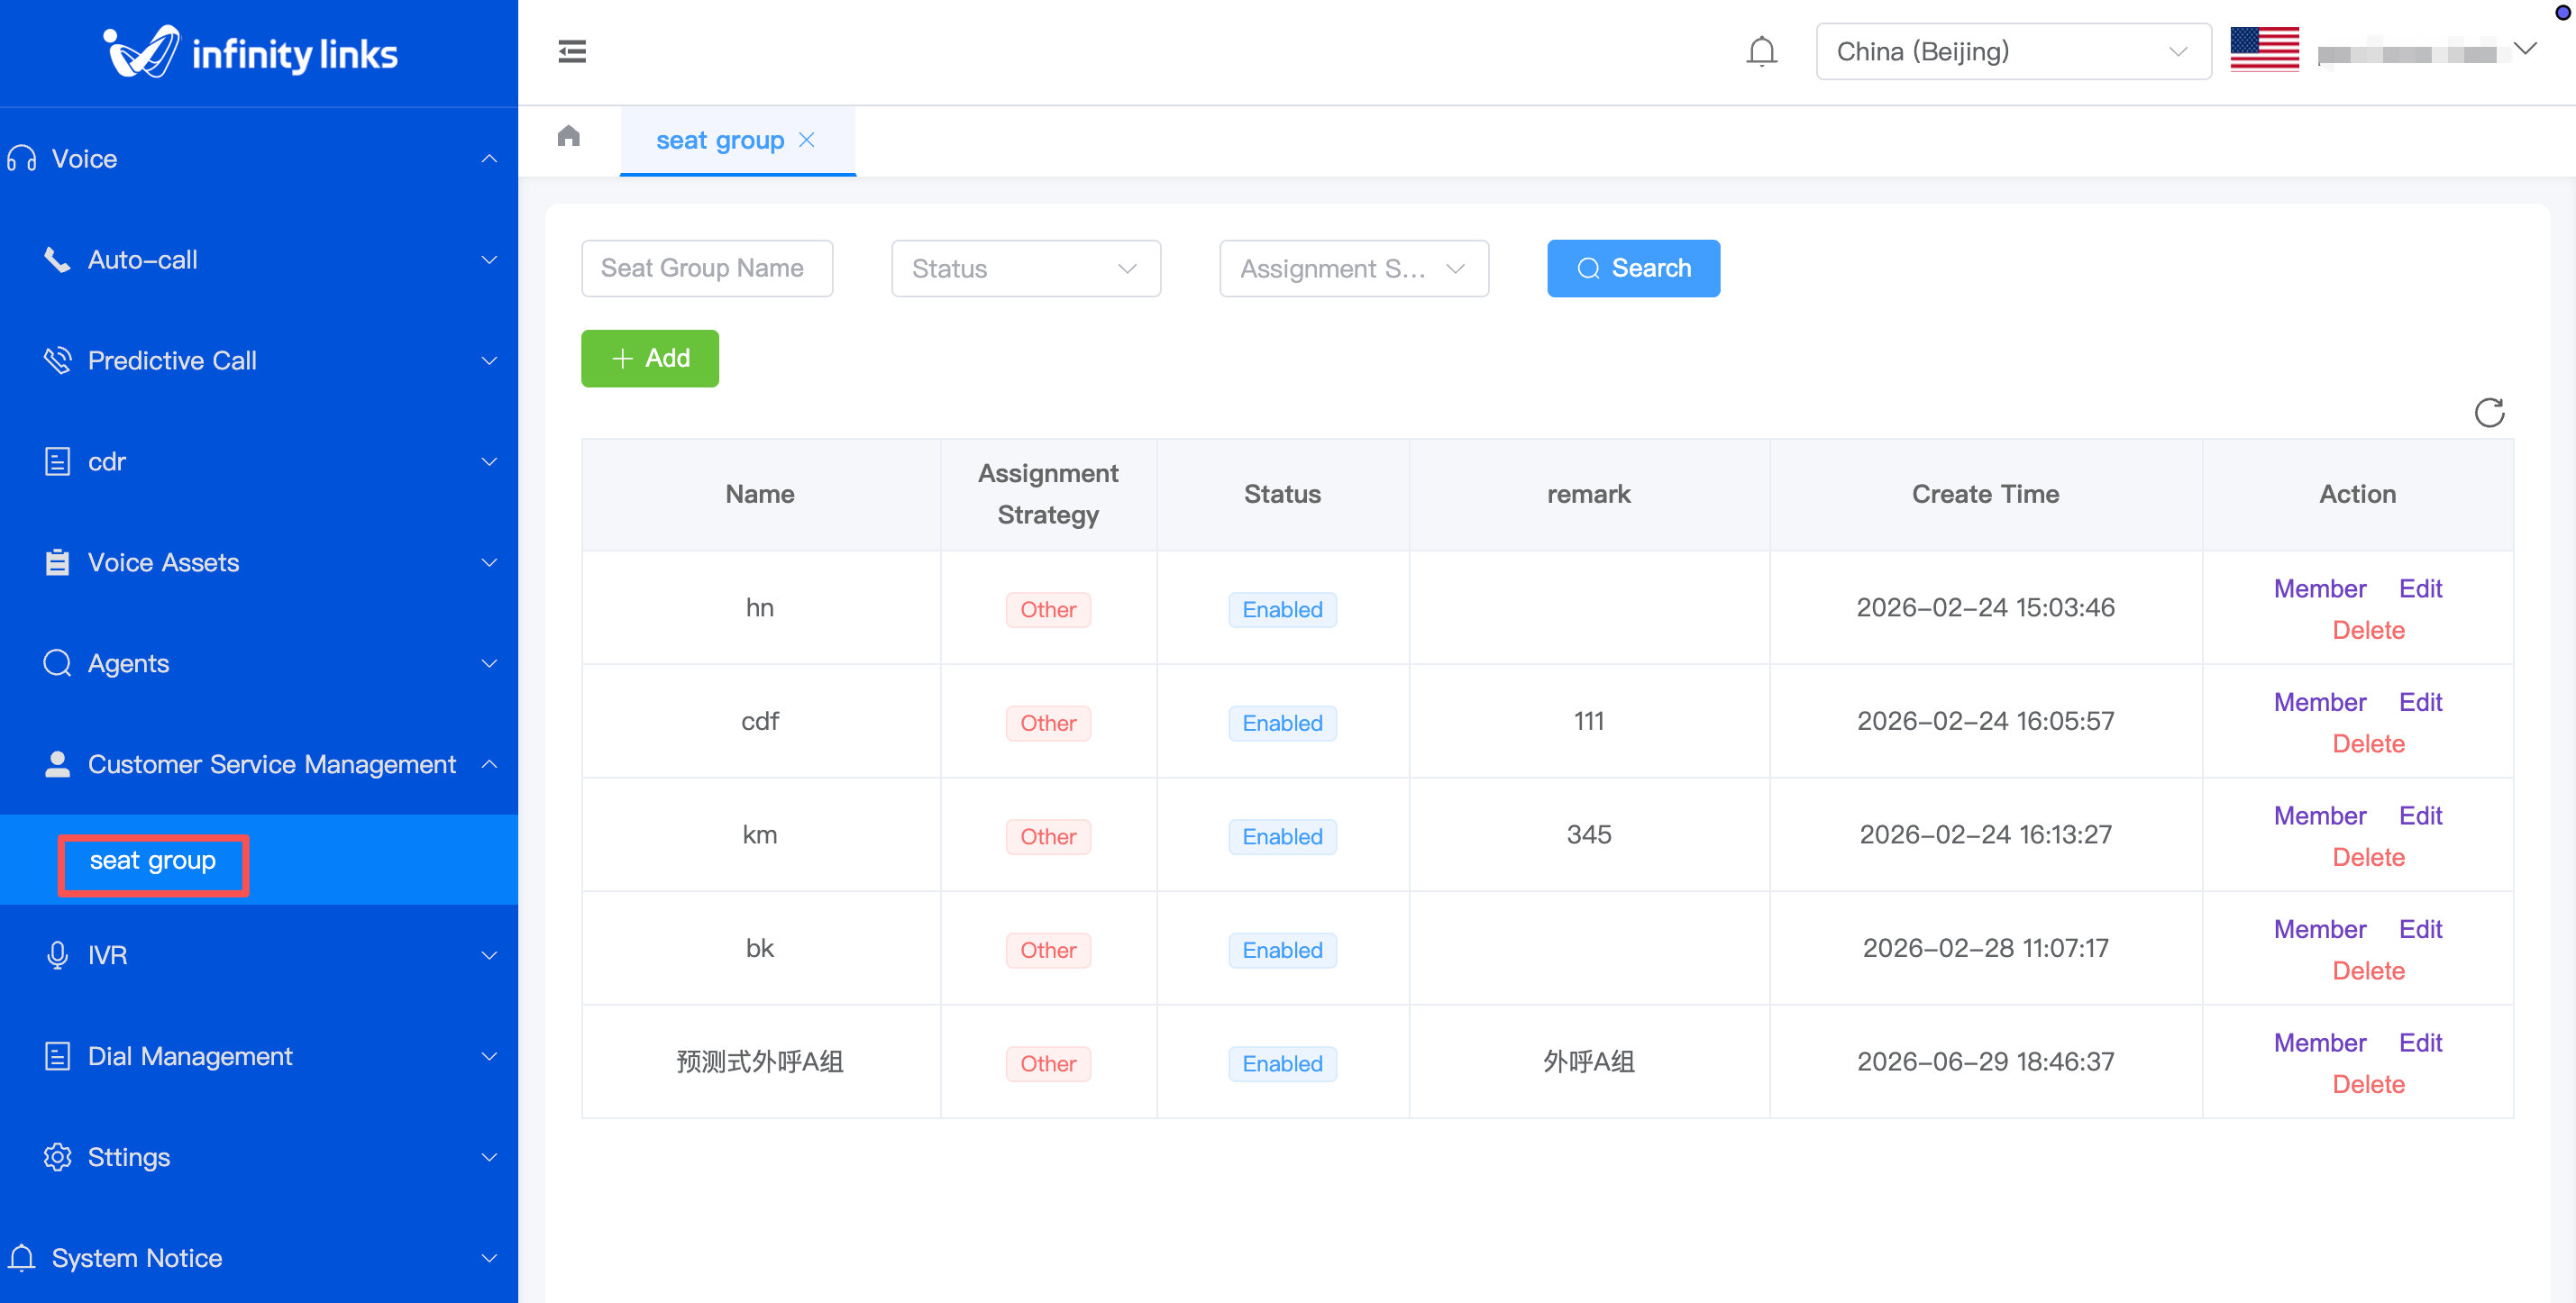
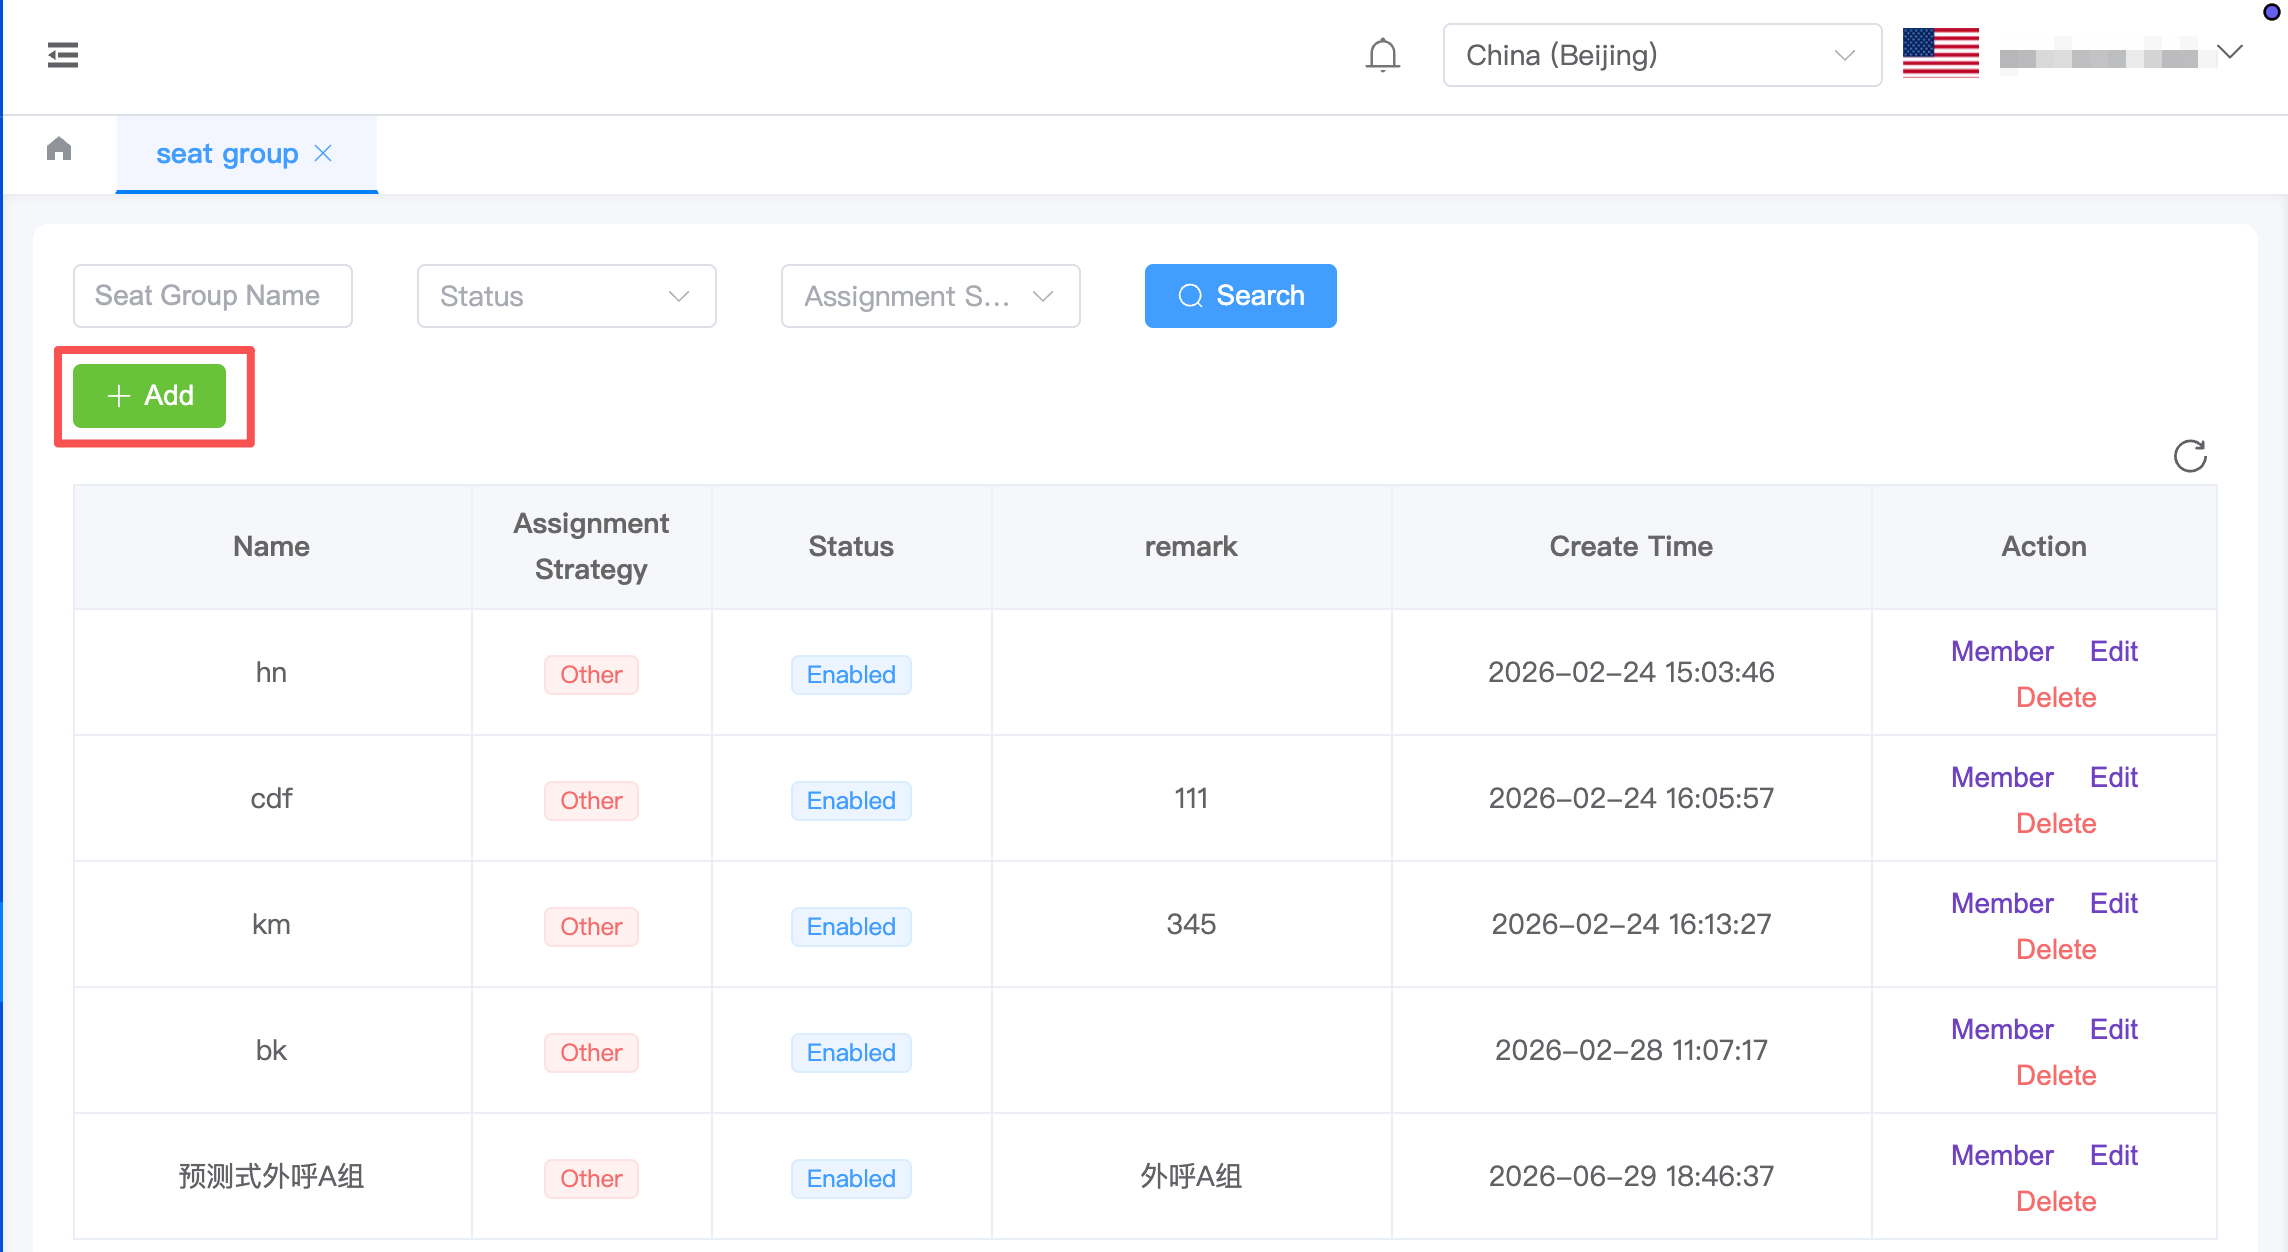
2.On the Seat Group list page, click "Add" .
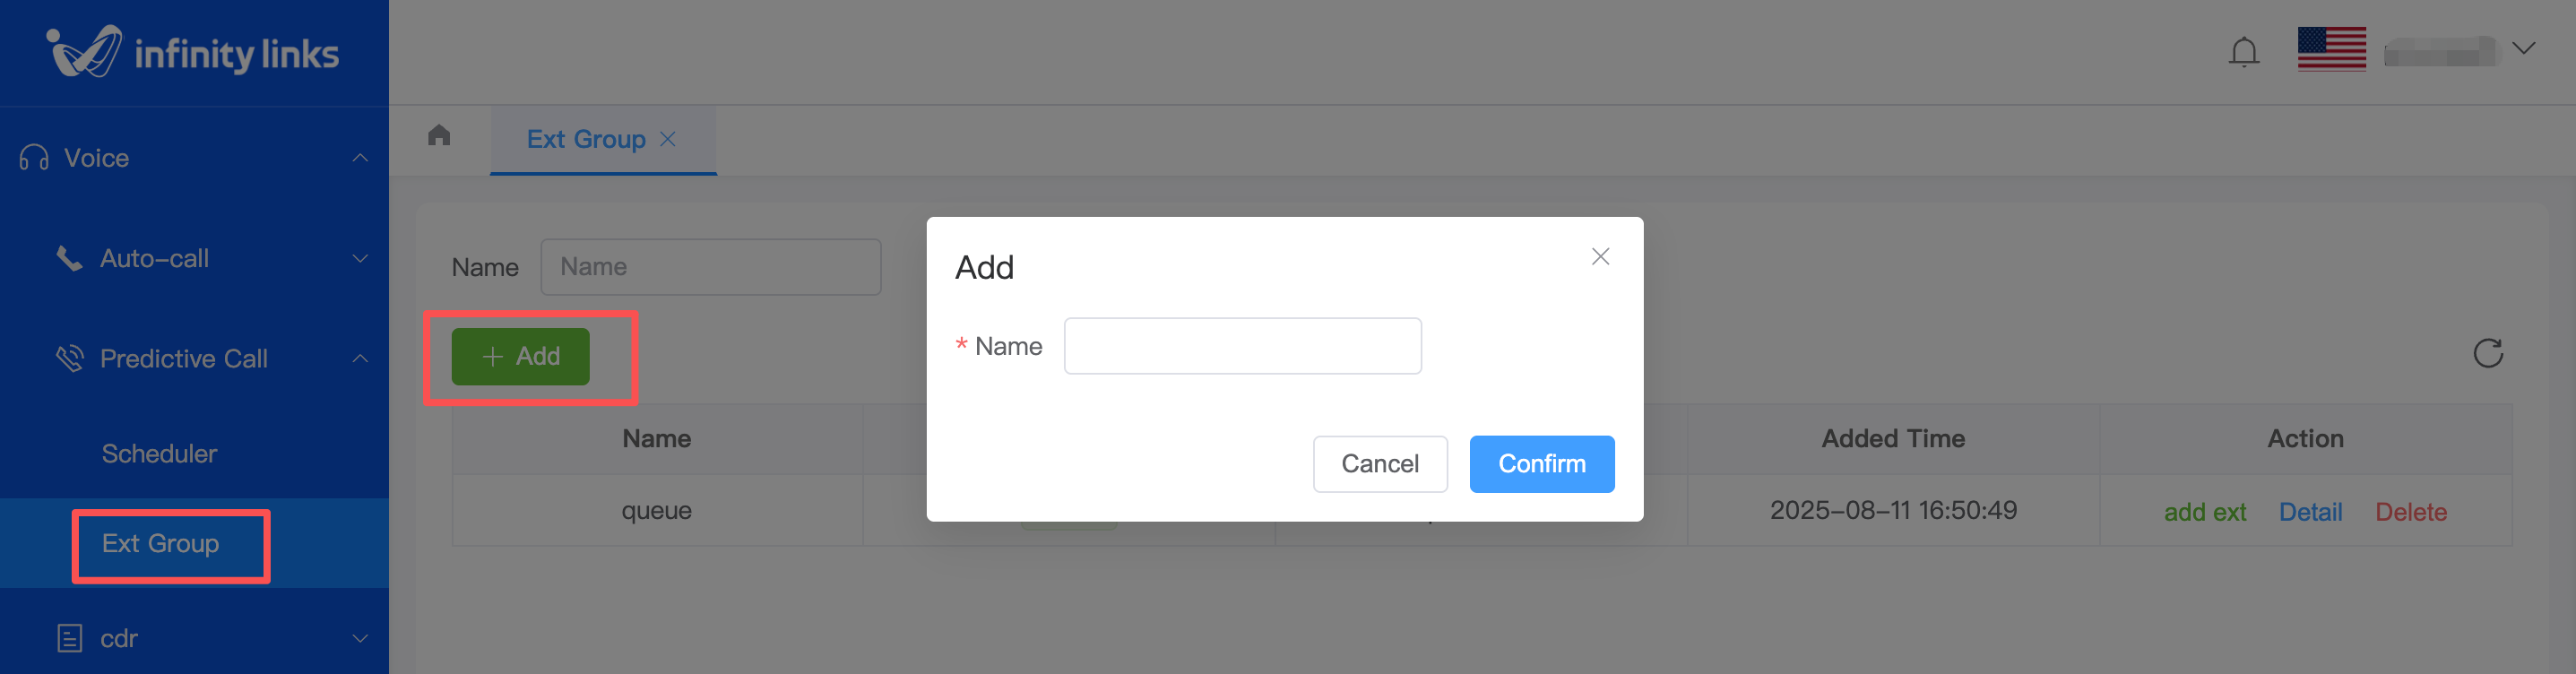
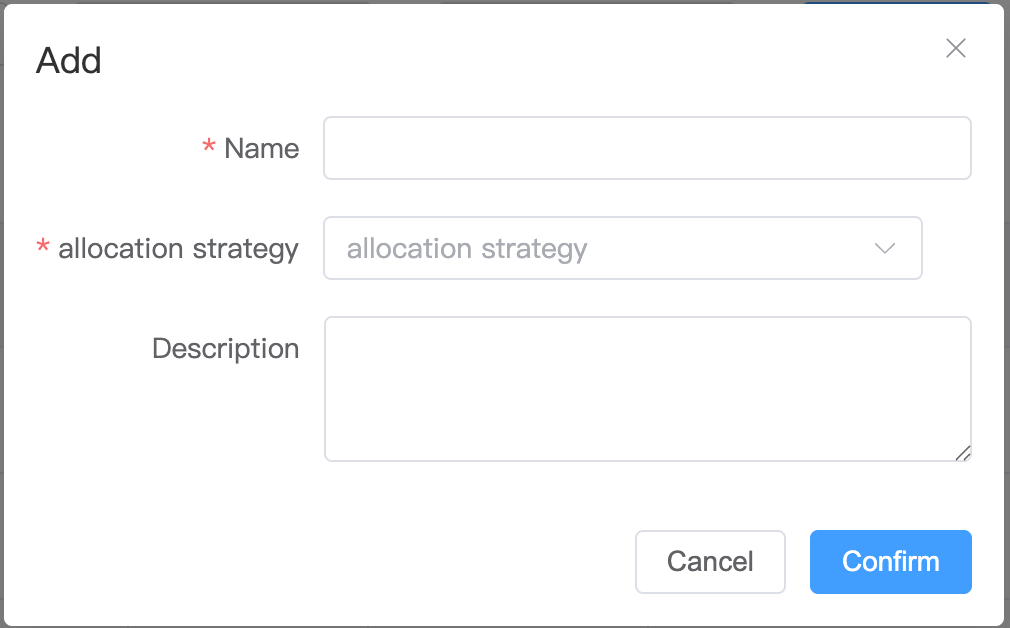
3.In the pop-up window, enter the agent group name and submit to complete the creation.
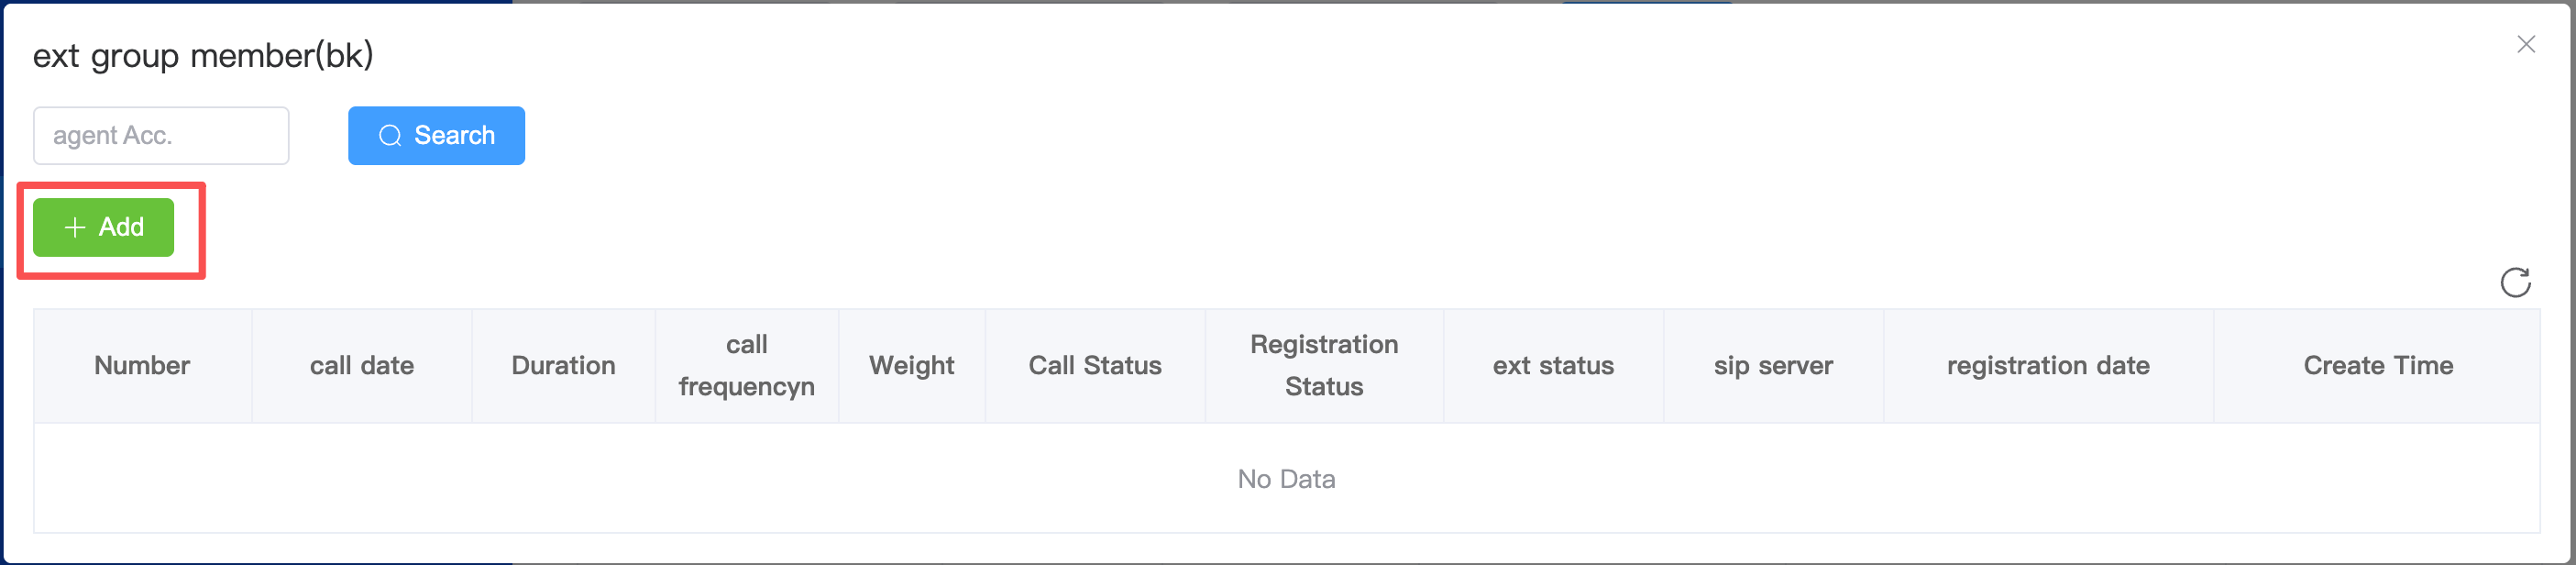
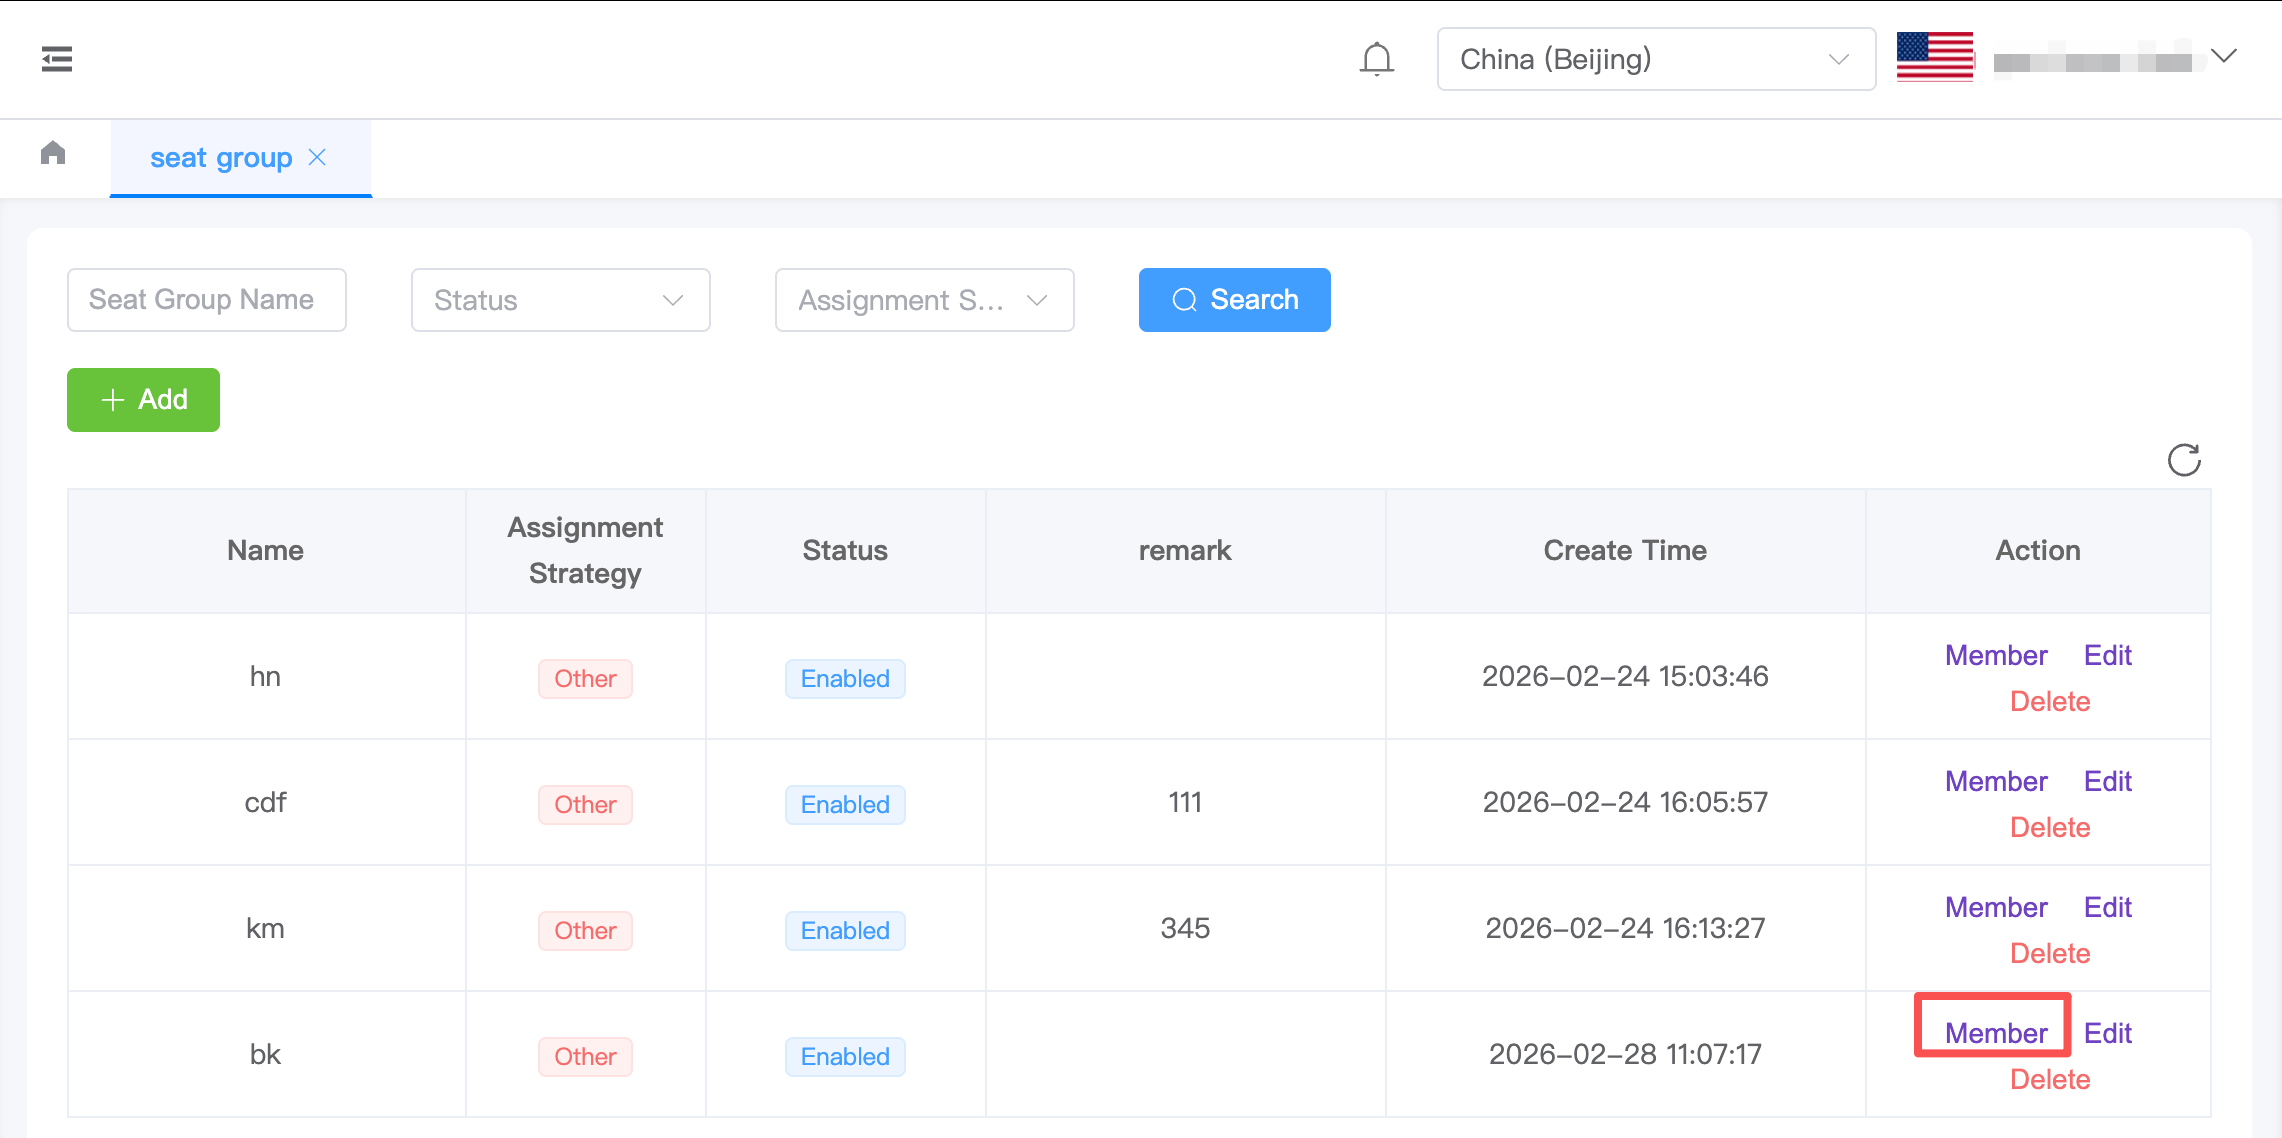
4.After the agent group is created, click "Member" in the "Action" column on the Agent Groups list page to add extensions to this group.
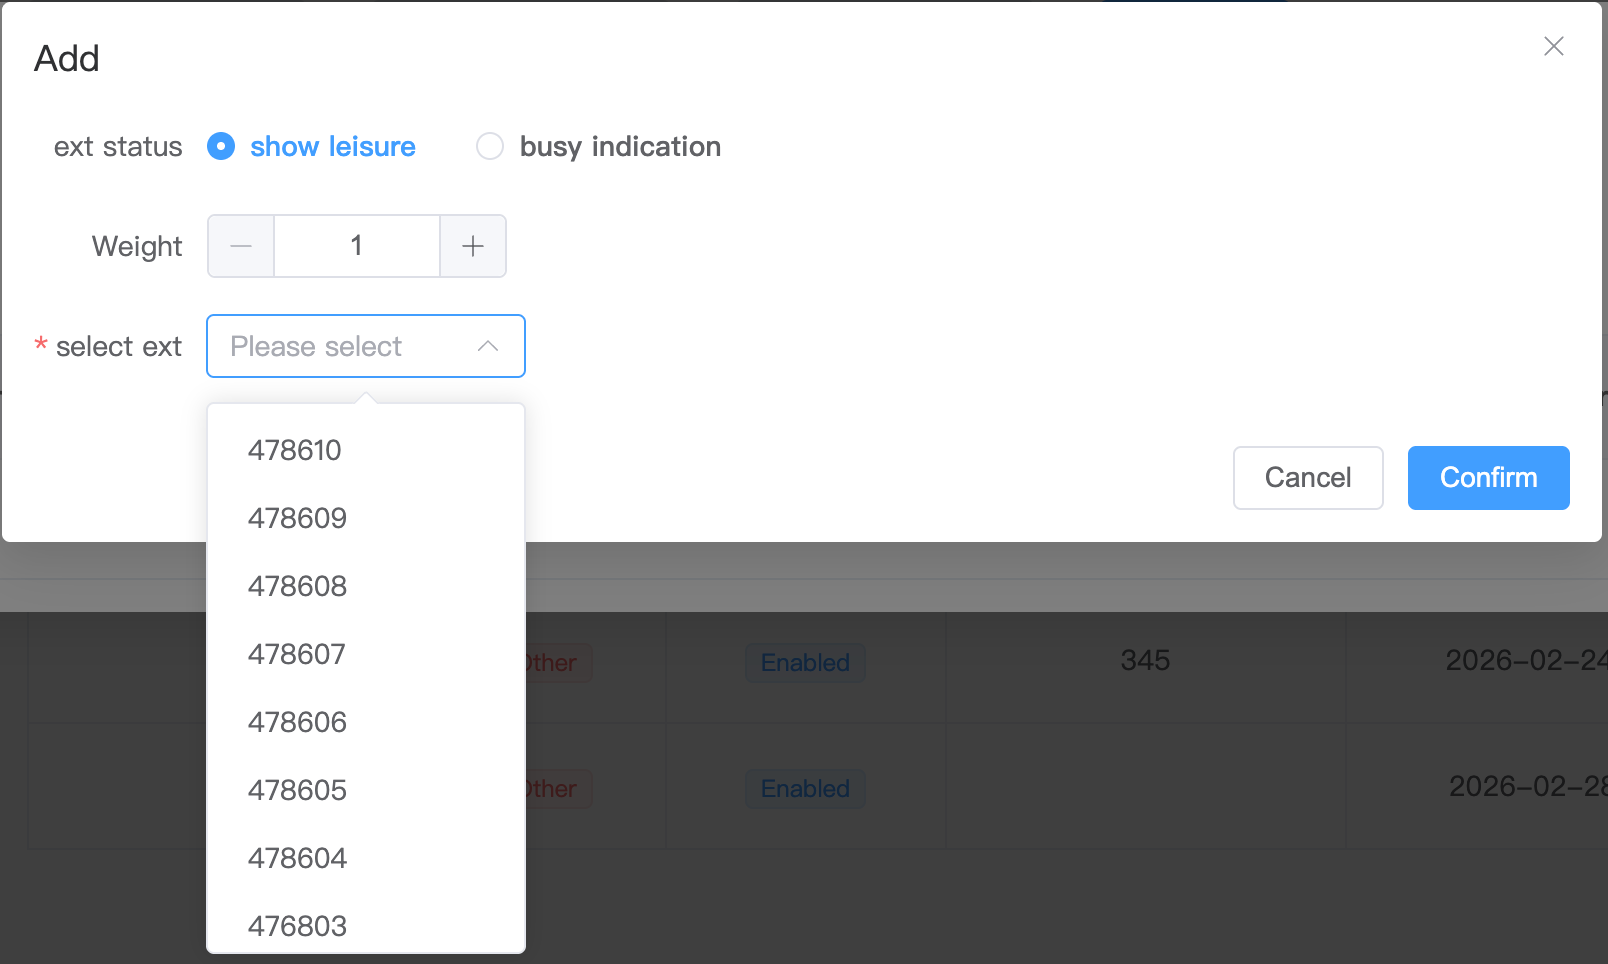
5.After clicking "Add", a pop-up window will display the list of existing extensions. You can select the desired extensions to add based on your needs.