

Task Management
Overview
Task Management is used to create, configure, and schedule automatic outbound call tasks. Through this module, users can bind audio recordings and call lists, flexibly set execution times, and intelligently trigger corresponding SMS notifications based on call status (such as active hang-up or unanswered calls), thereby achieving an automated closed-loop management of outbound call operations.
Accessing the Feature
After logging in to the Call Center platform, navigate to Voice > Auto Call > Scheduler.
Create Task
Step 1: Set Task Name
On the Task Management page, click Add. In the dialog box, enter a task name (e.g., January 2026 Promotion) and click Next Setp.
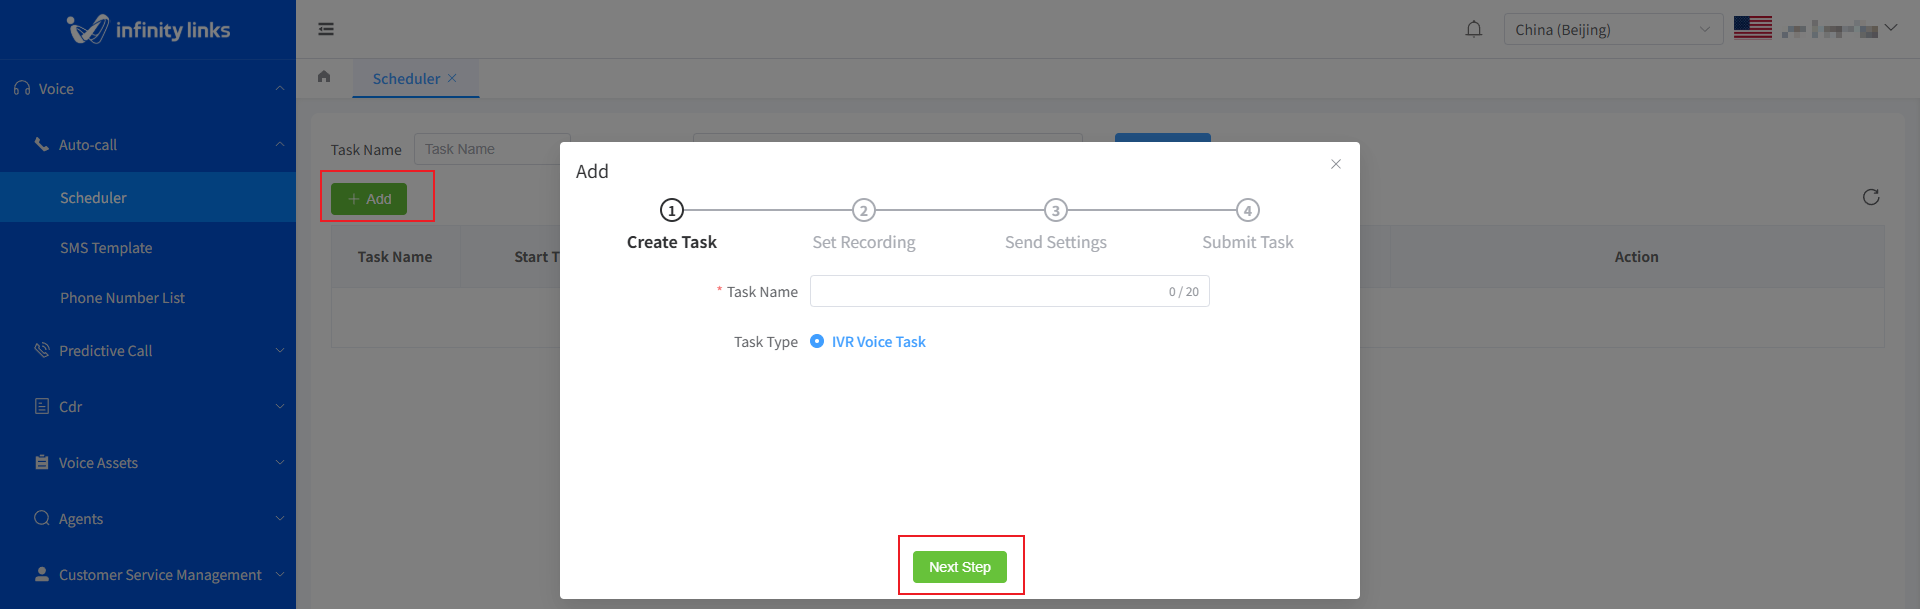
Note: Task names can contain only Chinese characters, English letters, and numbers. Special characters (e.g., @, #, and %) are not allowed.
Step 2: Configure the Recording
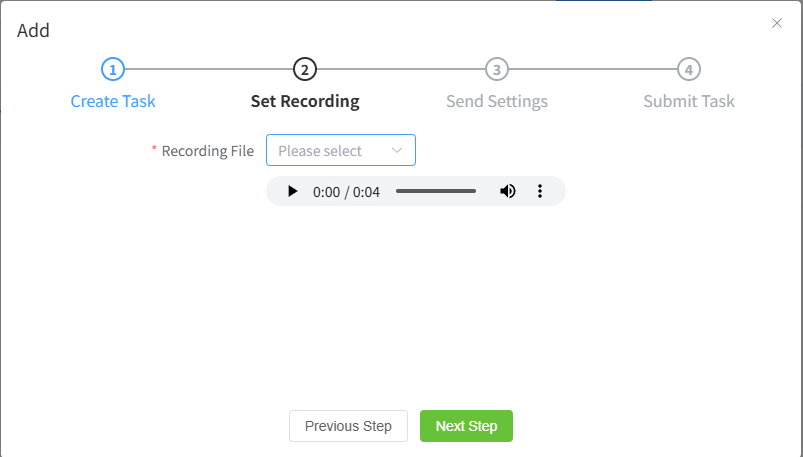
In the Recording File drop-down list, select a previously uploaded MP3 file (e.g., Promotion Campaign - Chinese.mp3), then click Next Setp.
Note: The recording file must be uploaded in advance through the Recording File Management module. For more information, see the Recording File Management section.
Step 3: Configure Send Settings
On the Send Settings page, configure the following task parameters:
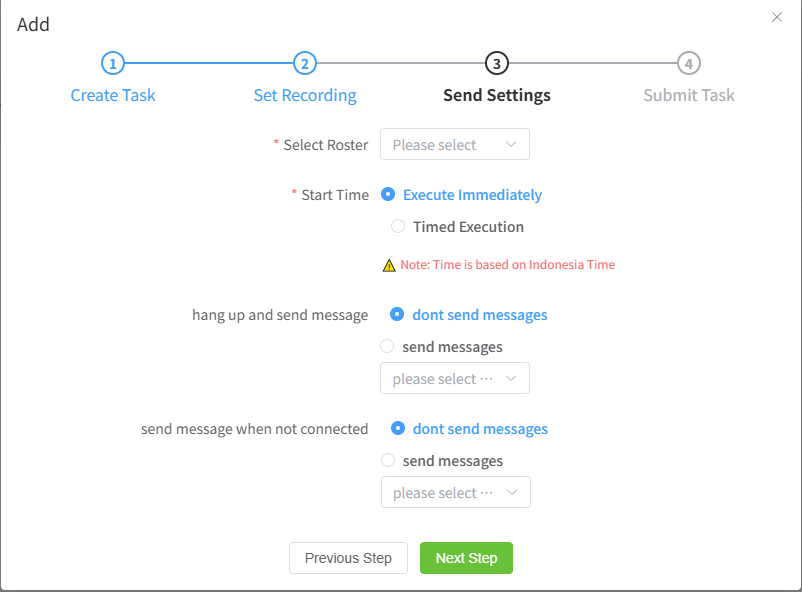
Select Roster: Select a previously uploaded roster from the drop-down list (e.g., Promotion_List_202601.xlsx).
Note: The roster must be uploaded in advance through the Call Roster module. For more information, see the Call Roster Management section.
Start Time: Select Run Immediately to start the task immediately after it is created, or Scheduled Run to specify a future start time.
Note: The system uses Western Indonesia Time (WIB, UTC+7) for task scheduling.
SMS Settings (requires an active SMS account): Configure the following two types of SMS settings based on your business requirements:
Send SMS on Call Disconnect: This SMS is triggered when the customer hangs up after answering the call, helping complete the post-call follow-up. To enable this feature, select Send SMS, then choose a pre-approved SMS template from the SMS Template drop-down list. For more information, see the SMS Template Management section. After the call ends, the system sends the SMS using the selected template.
Example: SMS content: Dear Customer, your requested service has been completed. Please check it. [Company Name]
Send SMS on Unanswered Call: This SMS is triggered when a call is not answered (e.g., no answer, powered off, or busy), helping notify the customer. To enable this feature, select Send SMS, then choose a pre-approved SMS template from the SMS Template drop-down list. For more information, see the SMS Template Management section. After the call ends, the system sends the SMS using the selected template.
Example: An outbound call is placed to the customer, but the call is not answered. The system automatically sends the following SMS: "[XX Company] You have a missed call. Reply with 1 for more information."
Tip: Both SMS types can be enabled at the same time. The system automatically determines which SMS to send based on the actual call outcome.
Step 4: Submit the Task
After confirming that all information is correct, click Submit to create the task.
Edit a Task
-
On the Task Management page, locate the target task, click Edit in the Actions column, and then select Edit from the drop-down menu.
-
In the dialog box, modify the task name.
-
After confirming that all information is correct, click Confirm to update the task information.
Pause a Task
-
On the Task Management page, locate the target task, click Edit in the Actions column, and then select Pause from the drop-down menu.
-
In the dialog box, click Confirm to pause the task.